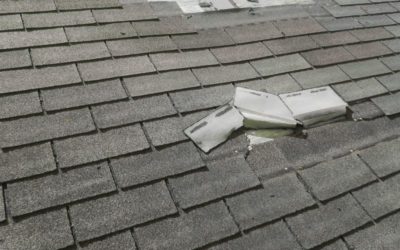
What is the skylight replacement cost? Replacing a skylight might not be something you think about often, but when the time comes, it can make a big difference in your home. Maybe your skylight has started to leak, or it no longer opens and closes properly.
Perhaps it’s just seen better days and needs an update. Whatever the reason, knowing what to expect in terms of cost and options can save you from surprises.
When it’s working well, your skylight brightens your home and even reduces the need for artificial lighting. But when it starts causing problems, it can lead to frustration and unexpected expenses.
What Skylight Replacement Involves
Replacing a skylight might be heavy on you, especially if you’ve grown used to the way it brings light into your home. But when issues like leaks, drafts, or wear start to appear, a replacement becomes necessary.
Knowing what’s involved in this process can help you approach it with confidence. Over time, weather, age, and wear can take a toll on even the best skylights.
1. Inspection and Assessment
Before any work begins, the installer assesses the condition of the existing skylight, the surrounding roof, and the interior area. This step helps identify issues like water damage, mold, or structural weaknesses that may need to be addressed during the replacement.
The skylight is checked for leaks or damage in the skylight frame, and the roof is inspected for wear, weak spots, or needed repairs. The skylight opening is then measured to determine sizing requirements.
2. Removing the Old Skylight
If you’re replacing an existing skylight, the old unit must be carefully removed to avoid damaging the roof or surrounding structure. The flashing and seals are detatched from the skylight after which the frame and pane can be removed.
The opening is then cleaned in preparation for the new skylight.
3. Preparing the Roof Opening
Preparing the existing opening or creating a new one ensures that the new skylight will fit securely and seal properly. The opening is resized or reinforced appropriately, checking that the roofing materials around it is in sound condition.
If any part of the roof around the skylight opening is in poor condition, it is repaired or replaced. After, the opening is checked to ensure it’s level and free of debris.
4. Installing the New Skylight
The new skylight is fitted into the prepared opening and secured into the roof frame. Flashing is thereafter installed to redirect water away from the skylight.
To further increase its water resistance, waterproofing materials are applied around the frame.
5. Sealing and Insulating
Proper sealing and insulation are important to prevent drafts, leaks, and energy loss. Weather-resistant sealants are applied around the frame to create a tight barrier.
Insulation is then installed around the skylight frame to improve energy efficiency. After that, the skylight is checked for gaps or weak points and addressed immediately.
6. Interior Finishing
Once the skylight is installed, the interior area is finished to blend with the existing design. The ceiling around the skylight is repaired and repainted to match the rest of the house.
The skylight is then tested for proper functionality if the skylight is vented or operable.
Material Choices
Like the type of skylight, skylights also come in a variety of material choices. The type odf skylight you choose also determines its performance, lifespan and cost.
While the initial price of materials is an important consideration, factors like energy efficiency, maintenance, and durability should also influence your decision.
1. Glass Skylights
Glass panes are more expensive than plastic, but they offer better clarity and insulation. Tempered or laminated glass is particularly popular because it resists shattering and provides a cleaner, more polished look.
These features make glass a common choice for homeowners looking for long-term value. Glass skylights are typically more expensive than other options.
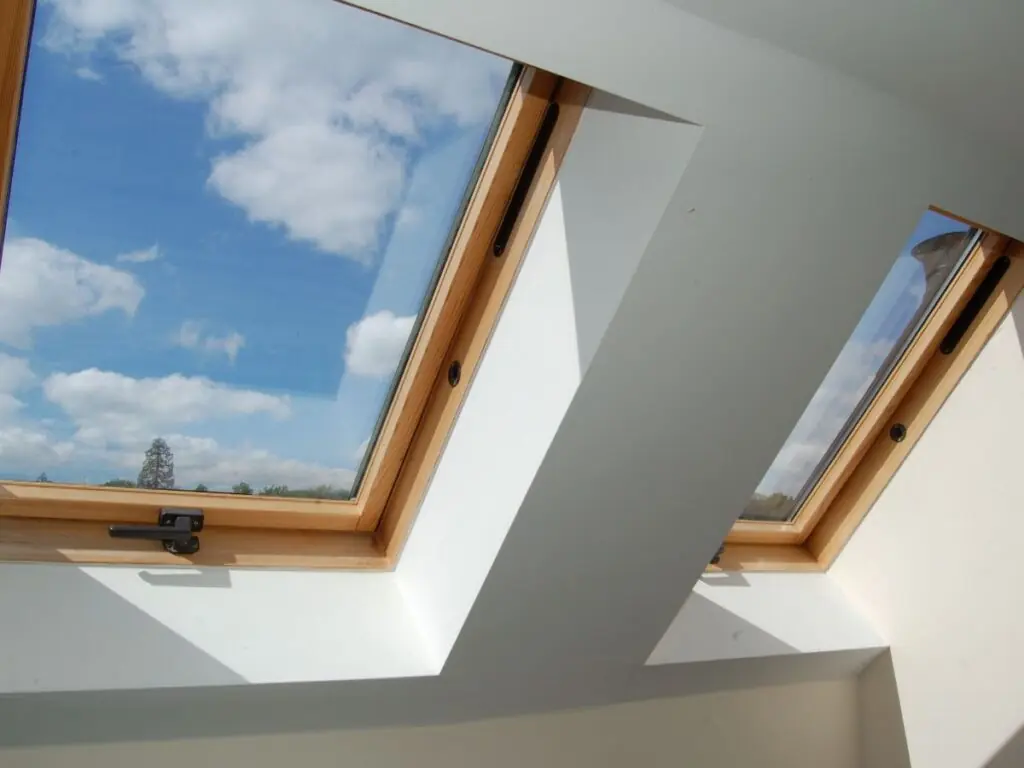
Tempered or laminated glass is recommended for added safety, as it’s designed to minimize the risk of shattering. Glass skylights can range from $300 to $1,200, depending on the size and features.
2. Plastic Skylights
Plastic panes are typically more affordable and lightweight. They’re a good option if you’re looking to keep costs down, but they may scratch more easily or discolor over time.
Plastic skylights, made from acrylic or polycarbonate, are lightweight and more budget-friendly. Over time, plastic skylights may become scratched or discolored, especially in areas with harsh sunlight.
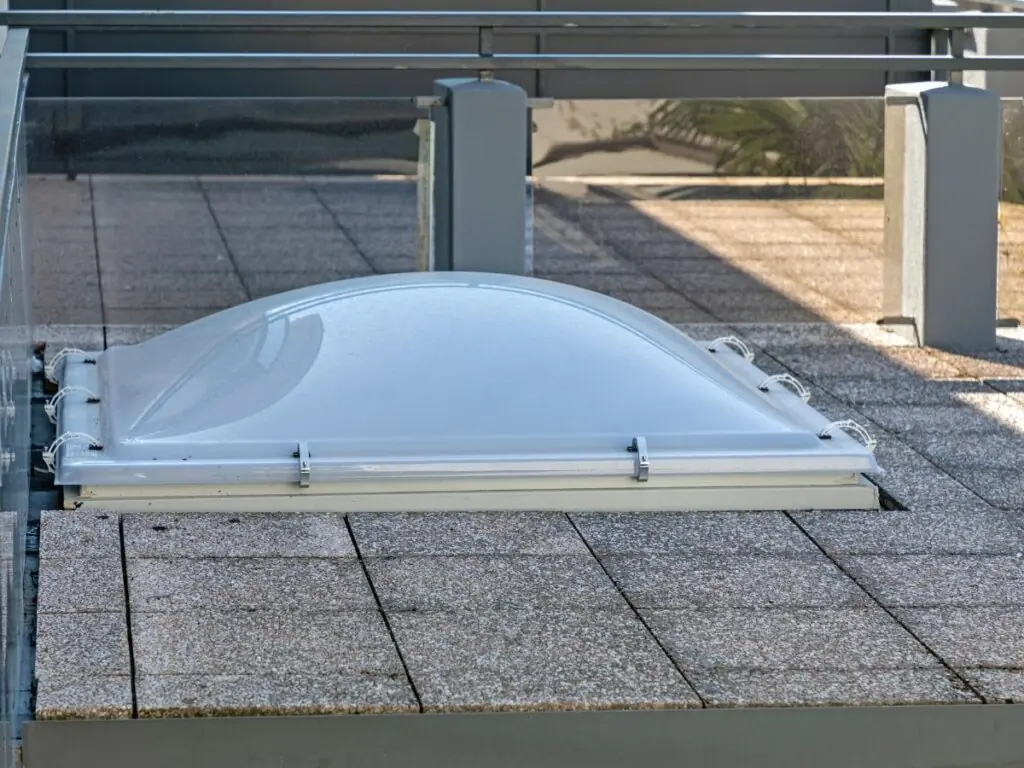
They may also lack the same level of insulation as glass skylights. Plastic skylights typically cost between $150 and $500.
3. Framing Materials
Aluminum frames are lightweight and budget-friendly, but they may not provide the best insulation. Vinyl frames, though slightly more expensive, offer better energy efficiency and are resistant to moisture, making them a solid option for long-term performance.
For those looking for premium options, wood frames provide a classic, high-end look, but they often require additional maintenance to prevent warping or rot. Hybrid frames, which combine materials like wood and aluminum, balance the aesthetics of wood with the strength of metal, giving you the best of both at a slightly higher cost.
4. Energy-Efficient Features
Some skylights come with additional features like low-emissivity (Low-E) coatings or tints. These treatments can block UV rays, reduce heat gain, and improve overall energy efficiency.
Low-E Coatings reflect heat while allowing light to pass through, improving insulation and comfort. UV-Blocking Layers protect your interiors from harmful rays that can cause fading and heat buildup.
Factors That Affect Installation Costs
Skylight installation involves a number of steps to ensure that the skylight is in good working condition. The process may involve customization to ensure no leaks when it rains and being uplifted when there is heavy wind.
This being, there are a number of factors that will determine the cost of installing a skylight as each job is unique due to the type of roof and skylight.
1. Roof Type
The slope and material of your roof directly impact the difficulty of the installation. Every roof presents its own challenges, and the complexity of these challenges directly affects labor costs and the time required to complete the installation.
- Pitch and Slope
Flat or low-sloped roofs are typically the easiest and least expensive to work on. Contractors can move around more freely and safely, which reduces labor time and costs.
A steeply pitched roof adds complexity, as installers must take extra precautions to ensure their safety and the precision of the installation. These roofs require additional equipment, such as harnesses or scaffolding, which increases labor costs.
- Roofing Material
Asphalt Shingles are the most common and easiest to work with, keeping costs relatively low. Cutting and sealing around shingles is a straightforward process for most contractors.
Tile or Slate Roofs are more fragile and require greater care during installation to avoid cracking or breaking tiles. This adds time and increases labor costs.
Installing a skylight on a metal roof involves additional sealing and flashing techniques to prevent leaks, which can increase costs.
- Roof Condition
If your roof is aging or has existing damage, repairs may be necessary before a skylight can be installed. Addressing issues like rotting wood or weak framing adds to the total cost.
Roofs with multiple layers of materials can make the process more labor-intensive. Each layer must be cut and sealed properly to ensure a secure fit for the skylight.
- Structural Considerations
If the roof requires modifications to accommodate the skylight—such as resizing the opening or reinforcing the structure—this will also impact costs. These changes often require additional labor and materials, making the project more expensive.
2. Skylight Type
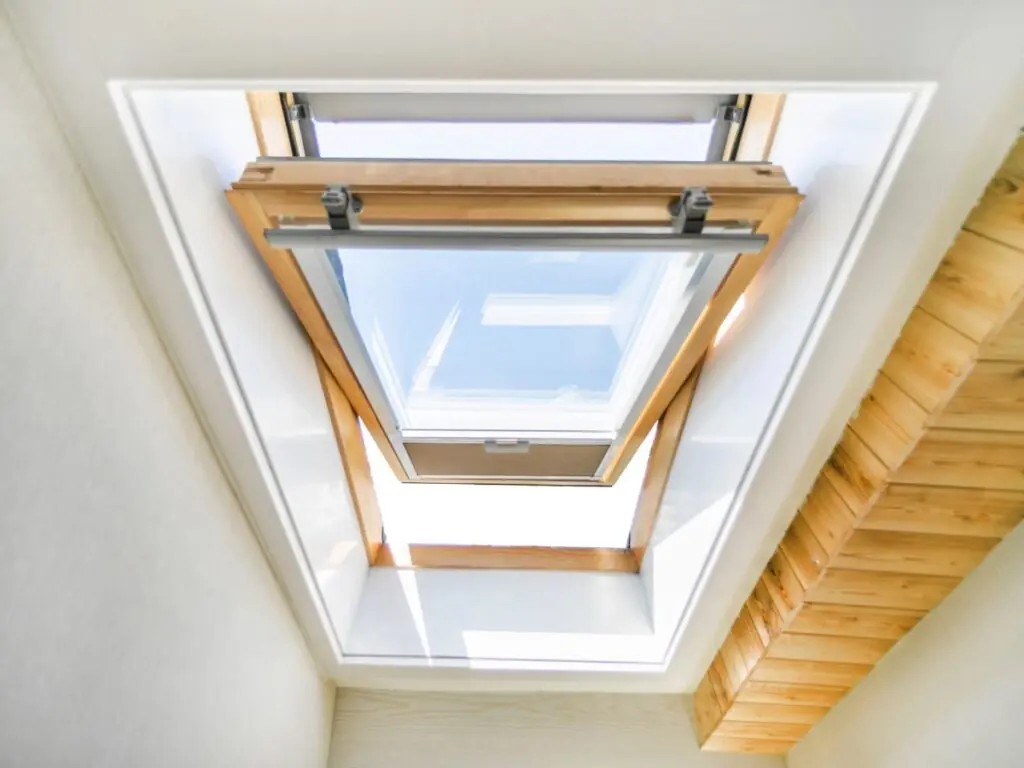
Skylights are meant to be functional natural lights that illuminate areas of your house that natural light won’t reach or to further illuminate the house. They can also be functional skylights that act as ventilation when needed.
The type of skylight you have to replace, therefore, affects the final
- Fixed Skylights
Fixed skylights are non-operable units designed solely to admit light. The price range from $150 to $800 per unit.
Including installation, expect total costs between $1,500 and $4,000.
- Vented Skylights
Vented skylights can be opened to provide ventilation. Manual vented skylights range from $300 to $1,200, while electric-powered versions cost between $1,100 and $1,600.
Manual units typically cost $1,600 to $3,900 to install, and electric models range from $2,500 to $4,600.
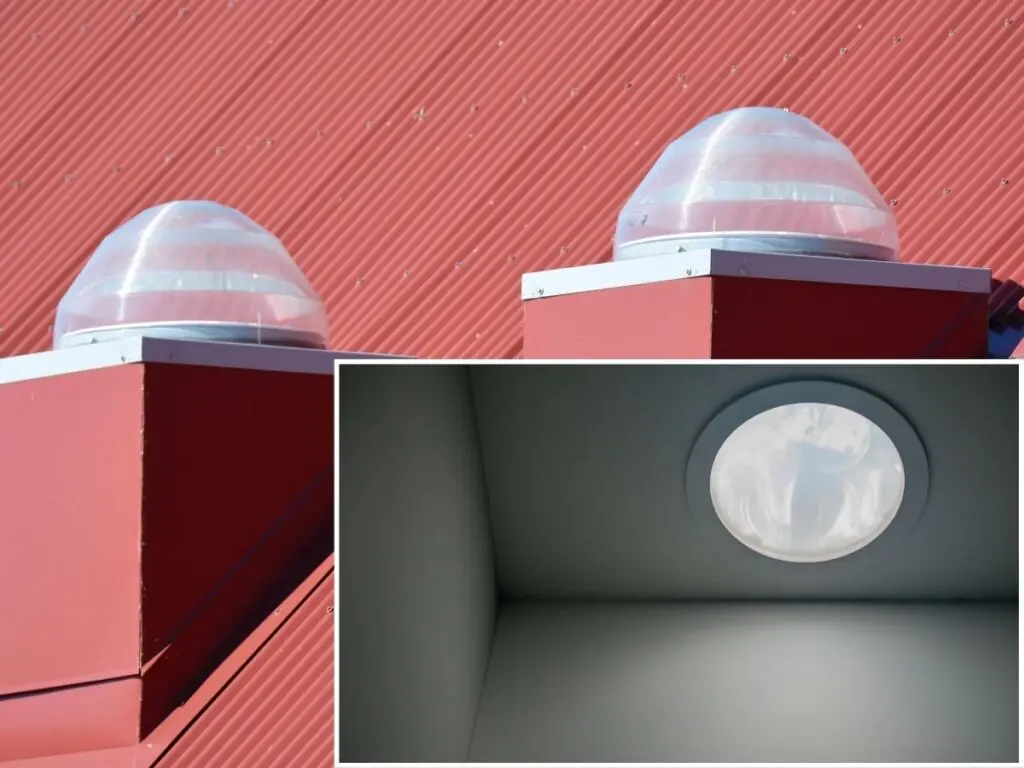
- Tubular Skylights
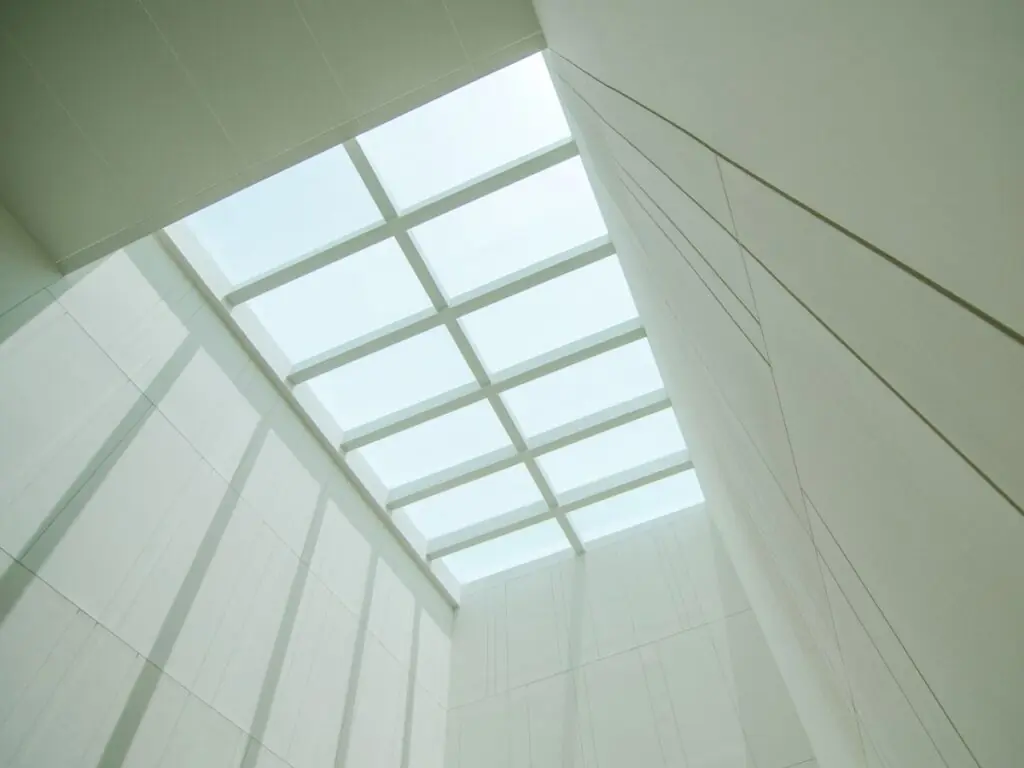
Tubular skylights are compact and ideal for small spaces. Units are priced between $150 and $500.
Total installation costs range from $500 to $1,000.
3. Existing Conditions
If you’re replacing an old skylight, the condition of the roof and the existing opening can influence the labor needed. If structural reinforcements or repairs are required, expect higher installation costs.
Creating a new skylight opening or resizing an existing one may require framing adjustments, which can add $200 to $600 or more to the cost. For vented skylights with motorized options, wiring may add $200 to $500 to the total cost.
DIY vs. Professional Installation
Labor costs vary by location and the contractor’s experience. On average, labor for skylight installation ranges from $50 to $100 per hour.
The total labor cost depends on the time required, which can range from a few hours to a full day or more for complex projects. While DIY installation might save on labor costs, it comes with risks like improper sealing or damage to the roof.
Professional installation not only ensures quality but may also be required to maintain warranties on the skylight. The total cost of installation, including labor and materials, typically ranges from $1,000 to $5,000, depending on the skylight type, roof complexity, and any additional work required.
Ways to Save Money on Skylight Replacement
Replacing a skylight doesn’t have to drain your wallet. With the right approach, you can keep costs under control while still getting a high-quality result.
Knowing where and how to cut costs without cutting corners is key.
1. Compare Quotes from Multiple Contractors
One of the simplest ways to save money is by shopping around for installation services. Reach out to multiple contractors to get detailed quotes for the work, and don’t be afraid to ask questions about what’s included.
Sometimes, a cheaper quote may leave out essential services or materials, so it’s important to compare not just the price but also the scope of the work. Look for contractors who offer transparency in their pricing and have good reviews from previous customers.
2. Consider Timing Your Project
Contractors often have busy seasons, particularly in spring and summer, when outdoor projects are more common. Scheduling your replacement during the off-season, such as late fall or winter, might help you secure better rates.
Manufacturers and retailers sometimes offer discounts or promotions during slower times of the year. Keep an eye out for sales or clearance events to snag a great deal on a high-quality skylight.
3. Opt for Standard Sizes and Features
Custom skylights can be appealing, but they’re often more expensive than standard models. If possible, stick to standard sizes and shapes, which are easier to produce and install.
This not only saves you money on the skylight itself but also reduces labor costs, as standard installations typically require less time and effort. While high-end options like motorized blinds or triple-pane glass might be tempting, they can significantly increase the price.
Pros and Cons of Skylights
Skylights can be an incredible addition to your home, offering benefits that are hard to achieve with traditional windows. However, like any feature in your home, they come with their own set of pros and cons.
On one hand, skylights brighten your space and can even help you save on energy costs when used correctly. On the other, issues like potential leaks, heat loss, or higher installation costs are important to consider.
Knowing both the pros and cons allows you to weigh what matters most to you. It gives you the perspective to prioritize what works best for your home, your needs, and your budget.


