How to obtain roof certification? Roof certification is a crucial step for property owners who want to ensure the integrity and longevity of their roofs. It involves a comprehensive inspection and evaluation by a qualified roofing professional, who then provides a certification indicating that the roof is in good condition and free of significant defects.
This certification not only offers peace of mind to homeowners but also plays a vital role in real estate transactions, as it reassures potential buyers and lenders about the property’s structural soundness. You can secure a roof certification that safeguards your investment and enhances your property’s overall appeal by following a series of well-defined steps.
What is Roof Certification?
Roof certification is a formal document provided by a professional roofing inspector or contractor, verifying that a roof has been thoroughly inspected and deemed to be in good condition. This certification is typically valid for a specified period, usually ranging from two to five years, depending on the condition of the roof and the standards of the certifying entity.
Roof certification differs from a standard roof inspection in that it provides an added layer of assurance. While an inspection identifies the current state of the roof and any necessary repairs, certification confirms that these repairs have been addressed. Additionally, it ensures the roof meets all required standards for safety and durability.
The validity period of a roof certification is an important aspect to consider. Roof certifications typically last 2-5 years, influenced by the roof’s age, materials, and local climate conditions. Validity varies accordingly.
A newer roof or one made from durable materials like metal or tile might receive a longer certification period, while an older roof or one made from less durable materials like asphalt shingles might receive a shorter certification period.
1. Initial Roof Inspection
A thorough roof inspection is a critical first step in the roof certification process. It serves as a comprehensive assessment of your roof’s current condition, identifying any existing issues or potential problems that may need to be addressed before certification can be granted.
This detailed evaluation helps ensure that your roof is structurally sound, free from leaks, and capable of providing adequate protection for your home. Minor issues that go unnoticed can escalate into major damage, compromising the integrity of the entire roof structure.
After the inspection, the roofing inspector will provide a detailed report outlining their findings. This report will include information on the overall condition of the roof, any identified issues, and recommended repairs.
Depending on the findings, you may need to schedule repairs with a qualified roofing contractor. After repairs, a follow-up inspection may ensure the roof meets certification standards, confirming completion and compliance with required specifications.
2. Addressing Necessary Repairs
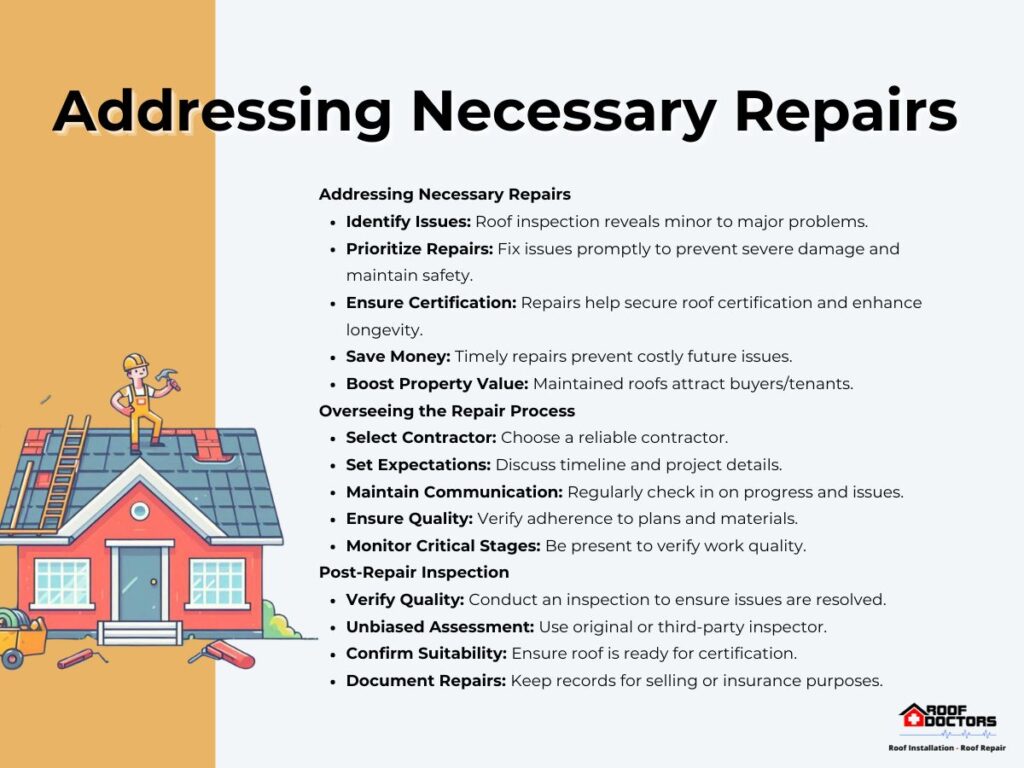
A roof inspection may uncover various issues, ranging from minor wear and tear to significant structural problems. Ignoring these issues can lead to more severe damage over time, potentially compromising the safety and integrity of your home.
Taking care of repairs before certification not only helps in securing the certification itself but also contributes to the longevity of your roof. Regular maintenance and timely repairs prevent small problems from escalating into larger, more costly issues.
This proactive approach saves money in the long run and enhances the value and appeal of your property, making it more attractive to potential buyers or tenants.

Overseeing the Repair Process
Once you have selected a contractor, it is important to oversee the repair process to ensure that the work is completed correctly and to your satisfaction. Start by discussing the project timeline and setting clear expectations with the contractor.
Regular communication is key; check in with the contractor frequently to stay informed about the progress and any unexpected issues that may arise. During the repair process, ensure that the contractor follows the agreed-upon plan and uses the specified materials.
If possible, be present during critical stages of the repair to personally verify the quality of the work being done. Don’t hesitate to ask questions or request clarification on any aspect of the repair process.
Post-Repair Inspection
Conduct a post-repair inspection to verify work quality. Ensure all issues have been addressed after repairs are completed. This inspection can be done by the original inspector or a third-party professional to provide an unbiased assessment.
The inspector will assess repaired areas, verify resolution of any remaining issues, and ensure the roof meets certification standards post-repair. A successful post-repair inspection provides peace of mind that the roof is sound and ready for certification.
It also serves as documentation that all necessary repairs have been made, which can be valuable when selling the property or negotiating with insurance companies.
3. Scheduling the Certification Inspection
To begin, contact a reputable roofing inspection company or a certified roofing contractor who offers certification services. It’s important to choose a professional with a solid track record and the appropriate credentials to ensure a thorough and reliable inspection.
When contacting the inspector, provide them with all necessary information about your roof, including any recent repairs, the age of the roof, and the type of roofing materials used. This information helps the inspector prepare for the assessment. Schedule the inspection at a convenient time, allowing the inspector full access to your property.
What to Expect During the Certification Inspection
The inspector thoroughly evaluates your roof’s condition during certification. This ensures it meets the necessary criteria for certification. This process typically involves both an interior and exterior assessment.
- The inspector will examine the roof’s surface for signs of damage, wear, or aging, including checking for missing, cracked, or curled shingles, damaged flashing, and any indications of water intrusion.
- The inspector checks for leaks, water damage, or structural issues that could impact the roof’s integrity. Signs of these issues are carefully examined.
They may use specialized tools and equipment, such as moisture meters and infrared cameras, to detect hidden problems. The inspection is usually thorough and can take several hours, depending on the size and complexity of your roof.
Documentation and Paperwork Involved
After the inspection, the inspector will compile a detailed report outlining their findings. This report details the roof’s overall condition, identified issues, and recommended repairs or maintenance. It provides essential information.
If the roof meets the certification standards, the inspector will issue a roof certification document. This document includes the inspection date, certification validity, and a summary of the roof’s condition. It provides detailed information.
It’s essential to keep this certification document in a safe place, as it serves as proof of your roof’s condition and can be valuable in real estate transactions or when dealing with insurance companies.
5. Receiving the Roof Certification
Once the inspection and any necessary repairs are completed, you will receive a detailed certification report from the roofing inspector. This report serves as a comprehensive overview of the roof’s current condition and includes information about the inspection process, findings, and any repairs made.
The report will cover inspected areas, the condition of roofing components, and any identified issues and their resolutions. The certification report proves your roof has been professionally inspected and meets required standards. This document is crucial evidence.
It typically includes the inspection date, the name of the inspecting company or contractor, and the validity period of the certification.
Validity Period of the Certification
The validity period of a roof certification usually ranges from two to five years, depending on factors such as the age of the roof, the materials used, and the local climate. This period indicates how long the certification remains valid before another inspection is required.
The certification period is an important aspect to keep in mind, as it determines the timeframe within which the roof is guaranteed to meet the standards set by the certifying body. It’s essential to note the expiration date of the certification and plan for future inspections accordingly.
What to Do if the Roof Does Not Pass Certification
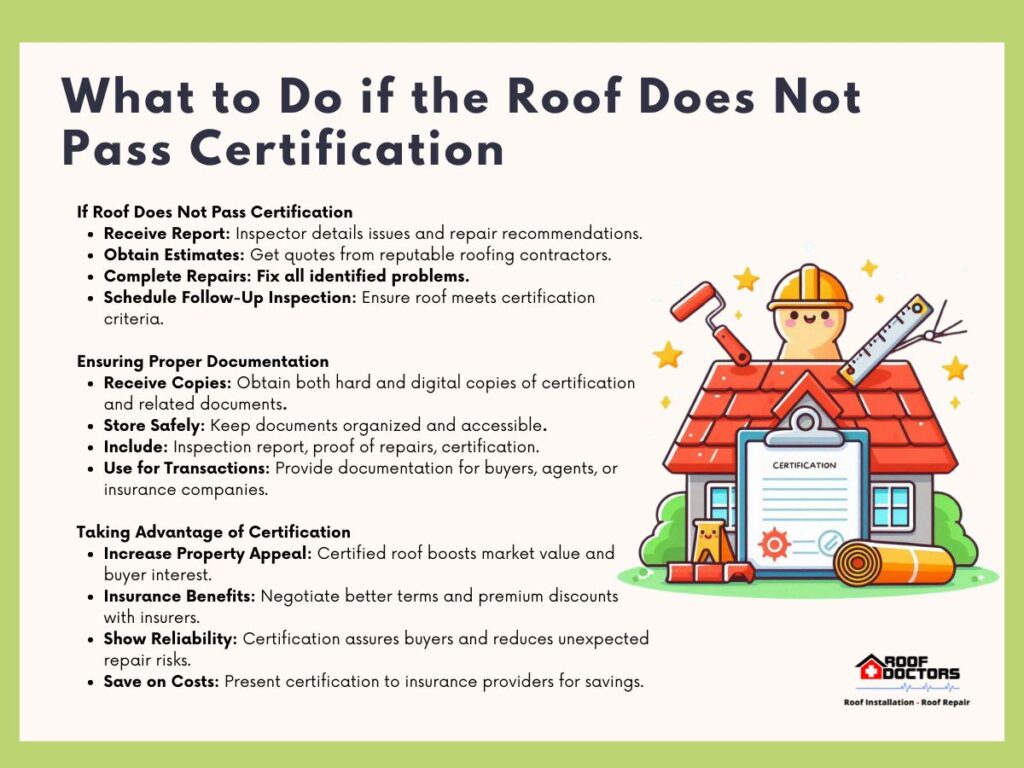
If your roof does not pass the certification inspection, the inspector will provide a detailed explanation of the issues that need to be addressed. This report will outline the specific problems that prevent the roof from meeting the certification standards and will often include recommendations for necessary repairs.
Start by obtaining estimates from reputable roofing contractors for the required repair work. After repairs, schedule a follow-up inspection to confirm all issues are resolved and the roof meets certification criteria.

Ensuring Proper Documentation
Proper documentation is critical when receiving your roof certification. Ensure that you receive both a hard copy and a digital copy of the certification report and any related documents. These documents should be stored safely and easily accessible for future reference, especially during property transactions or when renewing your insurance policy.
The certification documents should include the inspection report, proof of any repairs made, and the certification itself. Organize documents to easily provide proof of certification to buyers, agents, or insurers, ensuring smooth transactions and compliance with requirements.
Having well-maintained records can also be helpful if any issues arise during the validity period of the certification.
Taking Advantage Of The Certification for Property Benefits
Once you have received the roof certification, you can use it to your advantage in several ways.
- For homeowners looking to sell, a certified roof can significantly increase the property’s appeal and potentially its market value.
- Buyers often pay more for homes with certified roofs, as it minimizes surprise repairs and guarantees the roof’s durability.
For those not selling, the certification can be used to negotiate better terms with insurance companies. Many insurers offer discounts on premiums for homes with certified roofs, as they are considered less risky.
Presenting your roof certification to your insurance provider can lead to cost savings and more favorable coverage terms.
The cost of roof certification and what it includes
Obtaining and maintaining a roof certification is a valuable process that ensures the safety, integrity, and longevity of your roof. Regular inspections, timely repairs, and proactive maintenance preserve your roof’s health. These actions extend your roof certification’s validity.
This investment in your roof not only protects your home but also provides peace of mind, knowing that your property is safeguarded against potential issues. Understanding the cost of roof certification and what it includes is also crucial for homeowners embarking on this process.
The cost typically encompasses the initial inspection, any necessary repairs, and the final certification inspection. While the expenses may vary based on the size and condition of the roof, investing in certification can yield significant returns by preventing costly future repairs and enhancing the value of your property.


