Roof damage is one of those things you don’t want to ignore. The idea of patching your own roof might feel overwhelming at first, but with the right tools and a step-by-step approach, it’s absolutely something you can handle.
You don’t need to be an expert to fix common roofing problems, but you do need to know what to look for and how to address the issue safely. Think of it as a way to protect your investment while giving yourself the peace of mind that comes from knowing your roof is secure.
Plus, taking care of small repairs on your own means you’re extending the life of your roof, which is a win for your home and your wallet.
Assessing the Damage
Before you start any roof repair, it’s important to take a moment to understand the scope of the problem. Rushing into a fix without properly evaluating the damage can lead to bigger headaches later.
Taking the time to inspect your roof will help you catch any issues that may not be immediately obvious.
1. Tools You’ll Need for a Roof Inspection
When you’re preparing to inspect your roof, it’s crucial to have the right tools to ensure both safety and effectiveness. Heading up without proper equipment can lead to missed damage or even injury.
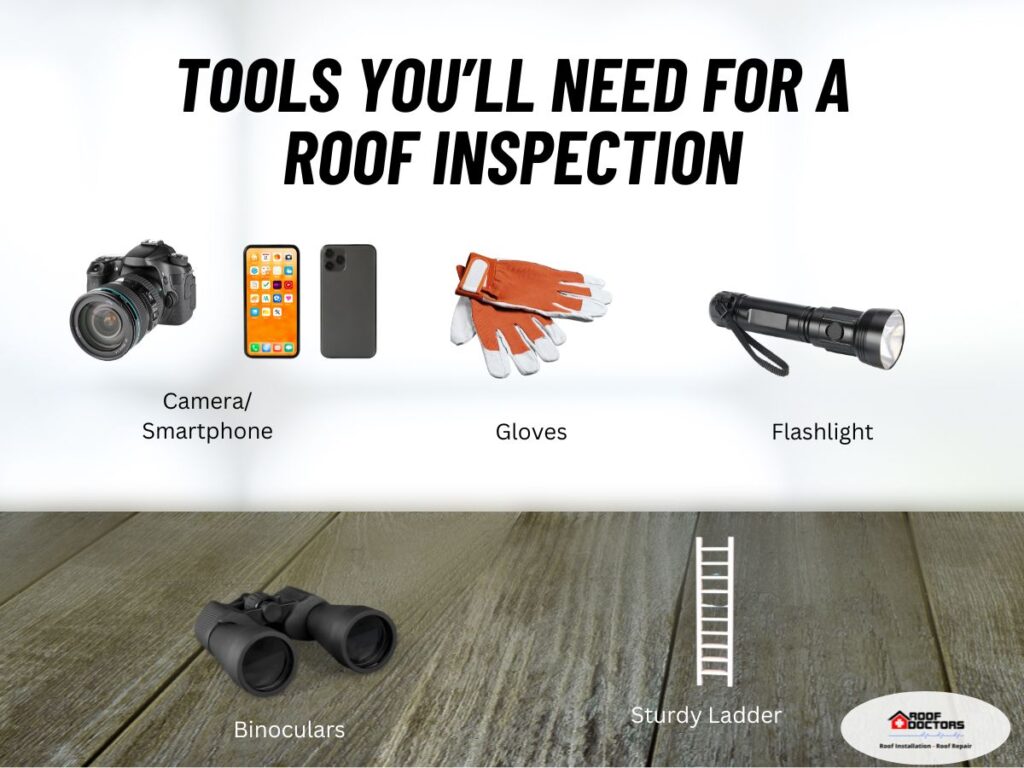
You don’t need any specialized tools to do a basic roof inspection, but having some essential items will make the job easier and safer.
- Sturdy Ladder: A solid, reliable ladder is your first and most important tool. Make sure it’s tall enough to give you a safe reach to your roof and that it’s on stable ground.
- Gloves: Protect your hands from sharp edges or rough surfaces with a durable pair of gloves. This will help avoid injuries while inspecting shingles or roofing materials.
- Flashlight: Even in daylight, some areas of your roof may be shadowed or hard to see clearly. A flashlight can help you spot cracks or gaps that may otherwise go unnoticed.
- Camera/Smartphone: Taking pictures of any damage you find allows you to review the problems later or even show them to a professional if you decide to get a second opinion.
- Binoculars: If you’re uncomfortable climbing onto your roof, binoculars can help you do a basic check from the ground, though it’s not as thorough as getting up close.
2. Common Signs of Roof Damage
Knowing what to look for when inspecting your roof can make all the difference in catching problems early. Even if the damage seems minor, taking the time to spot these issues helps prevent larger, more expensive repairs down the road.
You don’t have to be an expert to recognize when something isn’t right with your roof.
- Missing or Damaged Shingles
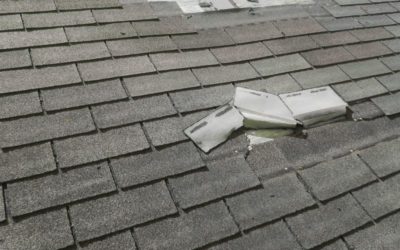
One of the easiest signs of roof damage to spot is missing or damaged shingles. These can be caused by storms, high winds, or the natural aging of your roof.
Shingles that are cracked, curled, or completely gone leave your roof vulnerable to leaks and further deterioration.
- Leaks and Water Stains
If you see water stains on your ceilings or walls, it’s often a sign that your roof is leaking. Even small leaks can lead to significant water damage over time, so it’s important to address them as soon as you notice any discoloration or moisture indoors.
Be sure to check your attic for damp spots as well.
- Granule Loss
Asphalt shingles tend to lose their protective granules over time. If you find an excessive amount of granules in your gutters or around your downspouts, it could be a sign that your shingles are wearing out and may need to be replaced.
This loss reduces the shingles’ effectiveness in protecting your roof from the elements.
Gather the Right Materials
Before you begin any roof patching project, gathering the necessary materials is key to ensuring that everything goes smoothly. Having the right supplies on hand allows you to focus on the repair itself without needing to stop in the middle of the job to fetch something you forgot.
With a little preparation, you’ll have everything you need to get the job done efficiently and safely.
1. Essential Roofing Materials
Having the right materials on hand is crucial to ensuring your roof repair goes smoothly. Without them, you might find yourself scrambling to finish the job or leaving your roof exposed longer than necessary.
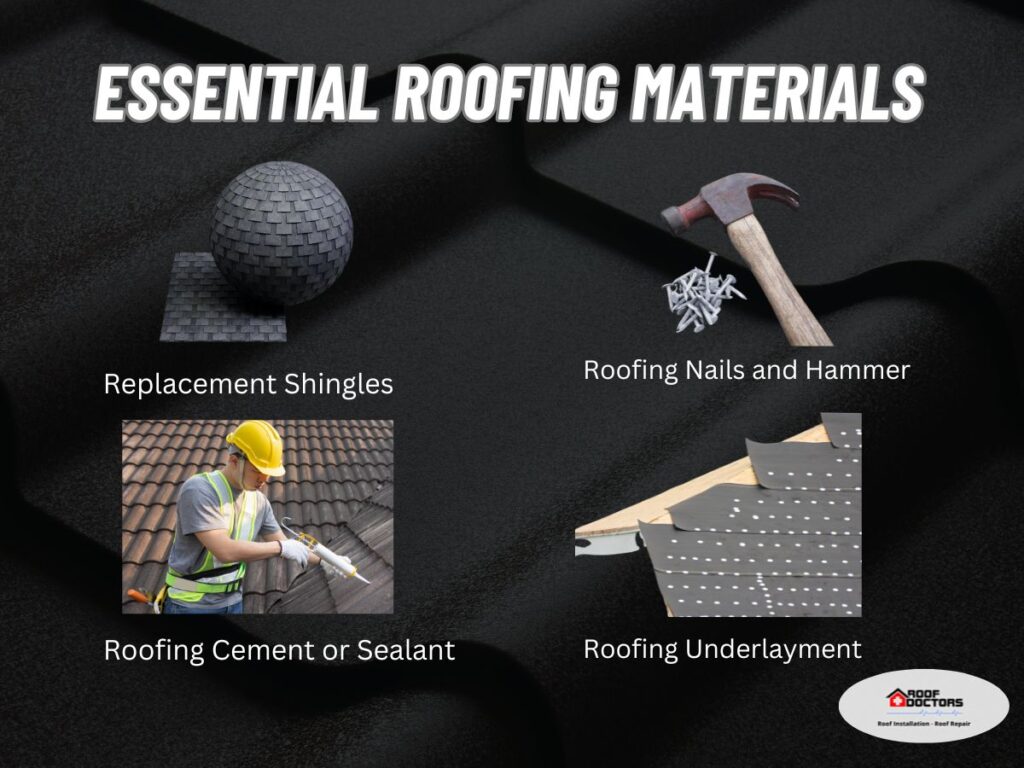
Roof repairs don’t have to be complicated, especially when you’ve gathered the essentials ahead of time.
- Replacement Shingles
One of the most important materials you’ll need is a set of replacement shingles. These should match the type and color of your current roof.
Having a few extra shingles on hand for future repairs is always a good idea, especially if your roof is older or has a unique design.
- Roofing Nails and Hammer
Roofing nails are designed to secure shingles in place and withstand the elements. Make sure you choose nails that are long enough to penetrate both the shingle and the roof deck underneath.
You’ll also need a sturdy hammer to ensure the nails are driven in securely.
- Roofing Cement or Sealant
Roofing cement is essential for sealing cracks and leaks and securing the edges of your shingles. This adhesive helps prevent water from seeping under the roof and causing damage.
Make sure to choose a sealant that’s specifically designed for roofing to ensure long-lasting protection.
- Roofing Underlayment
If the damage goes deeper than just the surface shingles, you may need roofing underlayment, a protective barrier that goes between the shingles and the roof deck. This material helps shield your roof from moisture and is especially important if you’re repairing large sections of your roof.
2. Safety Gear
When it comes to roof repairs, safety should always be your top priority. Working at heights can be risky, and the last thing you want is an injury while trying to fix your roof.
Equipping yourself with the right safety gear ensures you can focus on the task at hand without worrying about slips, falls, or other hazards. Having the proper safety equipment isn’t just about preventing accidents—it’s about giving yourself peace of mind.
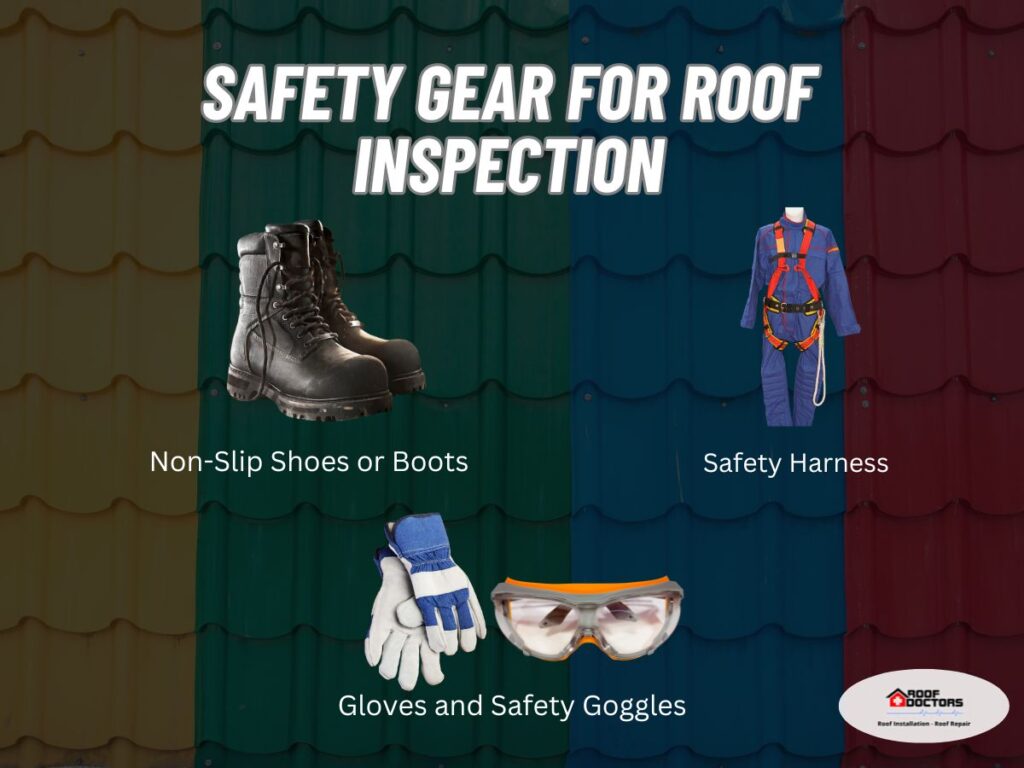
- Non-Slip Shoes or Boots
One of the most essential items for roof work is a good pair of non-slip shoes or boots. Roof surfaces can be slippery, especially if they’re wet or covered in debris.
Shoes with good grip will help you maintain your balance and prevent accidents.
- Safety Harness
A safety harness is a must if you’re working on a steep or high roof. The harness should be secured to a strong anchor point to prevent falls.
It might feel like an extra step, but it’s well worth the added security, especially when you’re working at dangerous heights.
- Gloves and Safety Goggles
Roofing materials can have sharp edges, and handling them without gloves puts you at risk for cuts or scrapes. Durable gloves will protect your hands while still giving you the dexterity needed for handling tools and materials.
Safety goggles are also important if you’re working with tools that could send debris flying, like when nailing shingles or using a hammer.
Sealing and Waterproofing
Once the visible damage is repaired, your next focus should be on sealing and waterproofing the area. This step ensures that your repair holds up against rain, snow, and other weather conditions.
Without proper sealing, even the best patch job can lead to future leaks and further damage, so it’s essential to get this part right. This step might seem minor, but it makes a huge difference in keeping your roof secure.
- Applying Roofing Cement
Roofing cement is your go-to product for sealing up gaps and cracks. Once your shingles are in place, apply a generous amount of roofing cement under the edges to secure them and prevent any water from seeping in.
Make sure to smooth it out so there are no gaps where water can collect.
- Sealing Nail Heads
Nail heads can sometimes be an entry point for water if they aren’t sealed properly. Use roofing cement or a sealant specifically designed for roofing to cover any exposed nail heads.
This small step can prevent leaks and add an extra layer of protection to your roof repair.
- Waterproofing Membrane
If you’re dealing with a larger section of the roof, or if you’re in an area that experiences heavy rainfall, it might be a good idea to add a waterproofing membrane. This membrane is installed beneath the shingles and provides an additional barrier against moisture.
It’s especially helpful if your roof is prone to leaks or if you want to reinforce an area after patching.
When to Call a Professional
While DIY roof repairs can be a great way to save money and take care of your home, there are times when calling a professional is the best option. Knowing your limits is important, especially when dealing with larger or more complicated roof issues.
Tackling repairs that are beyond your skill level could lead to even bigger problems down the road. Sometimes, the extent of the damage might not be visible right away.
If you’re unsure about the severity of the issue or feel uncomfortable working at heights, it’s wise to bring in an expert.
1. Signs You Need Professional Help
If you notice significant structural damage, like sagging or large sections of missing shingles, these are signs that your roof might need more than just a patch. Water stains that appear suddenly or spread quickly could indicate a leak that requires more extensive repairs.
In these cases, professionals have the tools and experience to address the root cause.
2. Specialized Repairs
Some roof issues, like chimney leaks or damaged flashing, require specialized skills and materials. If your repair involves complex elements or you’re working on a steep roof, it’s safer and more effective to hire a professional.
They can make sure the job is done properly and to code, which also helps maintain any warranties you may have on your roof.
DIY Leaf Gutter Guard Installation: Step-by-Step Guide for Homeowners
Patching your roof might feel like a big task, but with the right approach, tools, and materials, it’s something you can tackle with confidence. Just like patching your roof, installing a leaf gutter guard is another way to prevent damage to your home.
Both projects involve taking proactive steps to keep your home in good condition by managing water flow and preventing debris buildup. A clogged gutter can lead to roof damage, so installing a gutter guard complements your roof maintenance efforts.
Taking on DIY projects like roof patching and gutter guard installation gives you the power to keep your home safe, dry, and well-maintained without always needing to call in a professional. With a bit of effort and preparation, you’re safeguarding your home for years to come.

